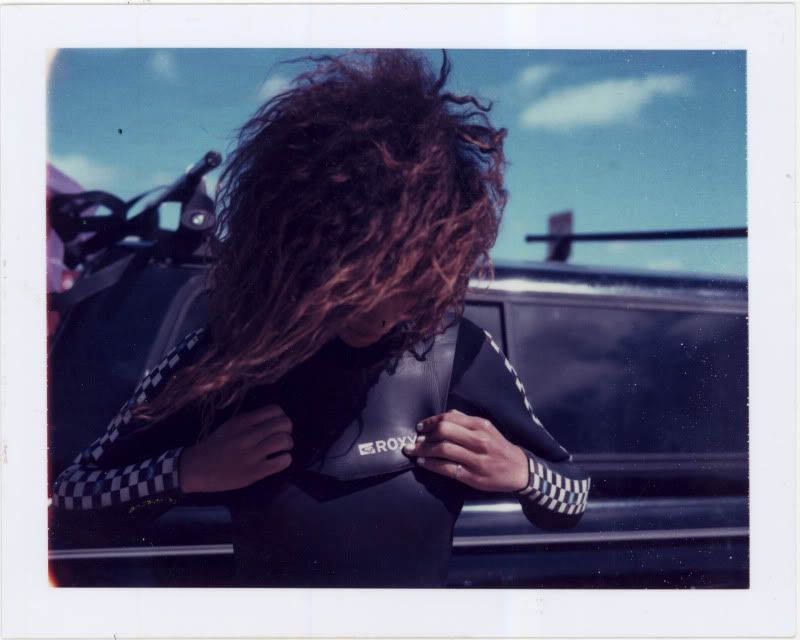


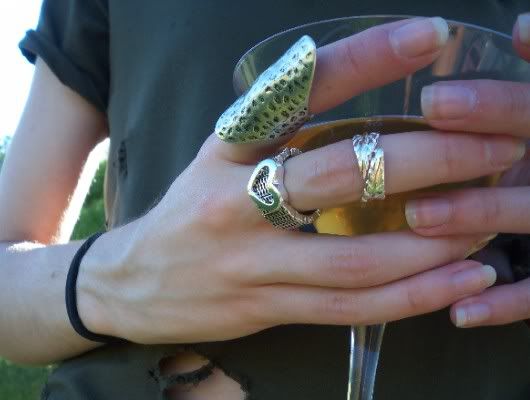


 DIY t-shirt; Leggings by Forever 21; Vintage Boots.
DIY Tutorial
DIY t-shirt; Leggings by Forever 21; Vintage Boots.
DIY Tutorial
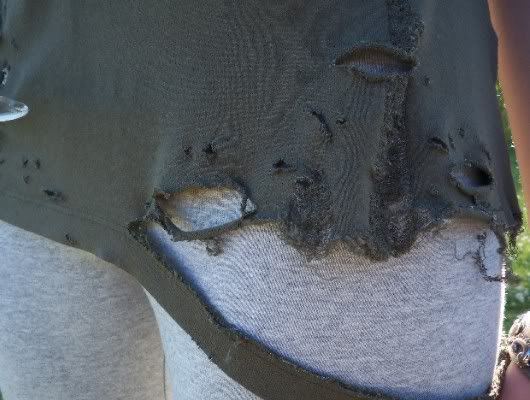
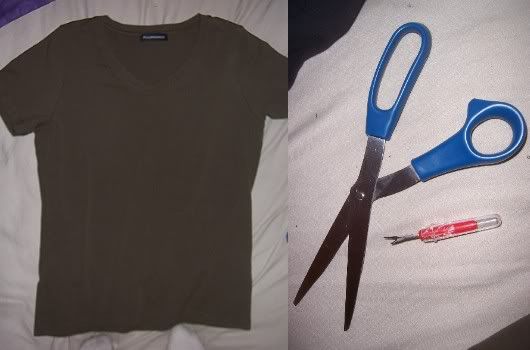
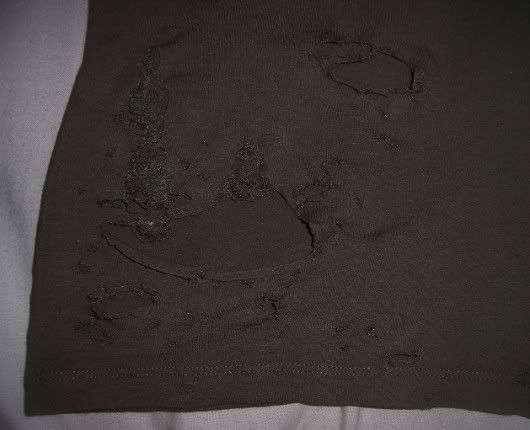
All you need to make this shirt is a t-shirt, scissors, and a seam ripper.
First, I decided where I wanted the major holes to be. I chose one on the shoulder, one on the collar, one in the middle of the right side, one on the lower left, and I tore part of the bottom off the lower right corner. To make a hole, cut with scissors or poke a hole with the seam ripper just big enough to fit your fingers in. Then, tear until you get the desired size. This gives the holes a more jagged, worn-looking edge.
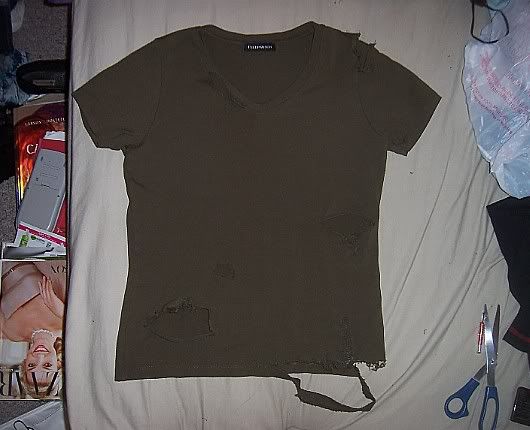
Then, I shredded parts of the edges to make them look even more worn. The blog Childhood Flames has a great tutorial for shredding t-shirts
here.
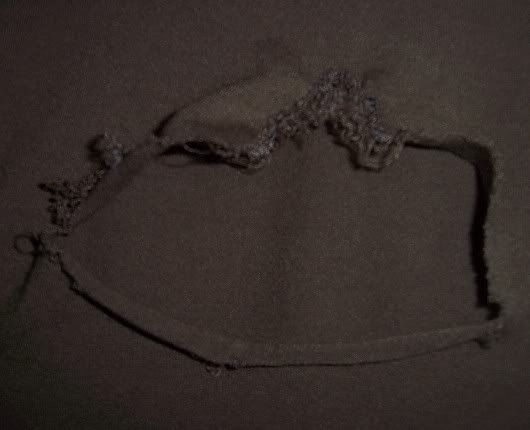
Then, I made smaller holes around the larger ones. Make small holes with the seam ripper and tear them apart with your fingers. Make tiny holes by using the seam ripper and then pulling the fabric around the hole so it curls under.
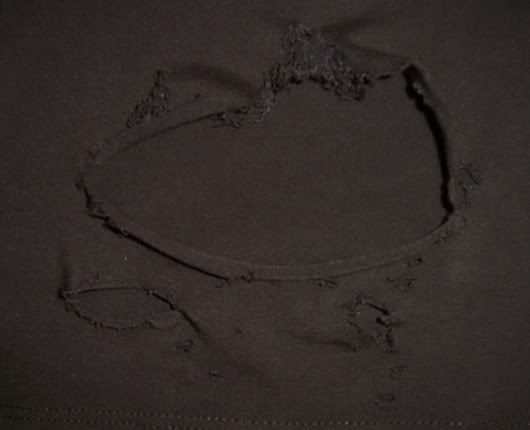
Keep on making holes and shredding the edges until you're satisfied with the look.
This took me about three hours to do, including trying it on several times to see how it would look on me. But I think those three hours were well worth it. I'm really happy with the way this came out. And I saved over a grand too!
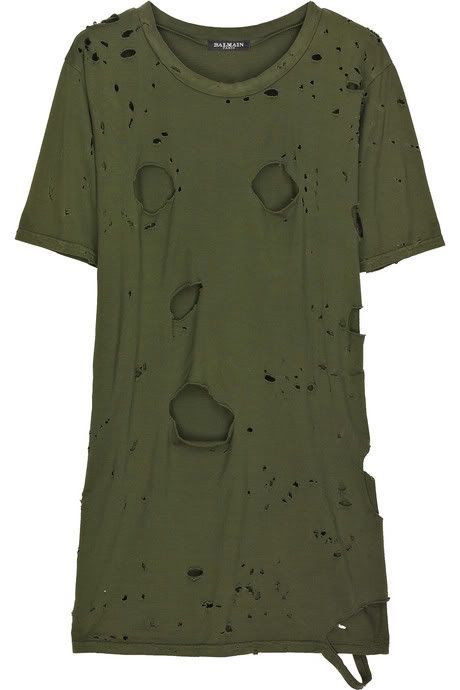
Here's a little inspiration for positioning holes: