


The second way to add handwriting to your photos is to write out your quote and then scan it. This way takes a little more time and planning, but it allows you to have a lot more creativity in the design.
The first step is to scan your quote into your computer.

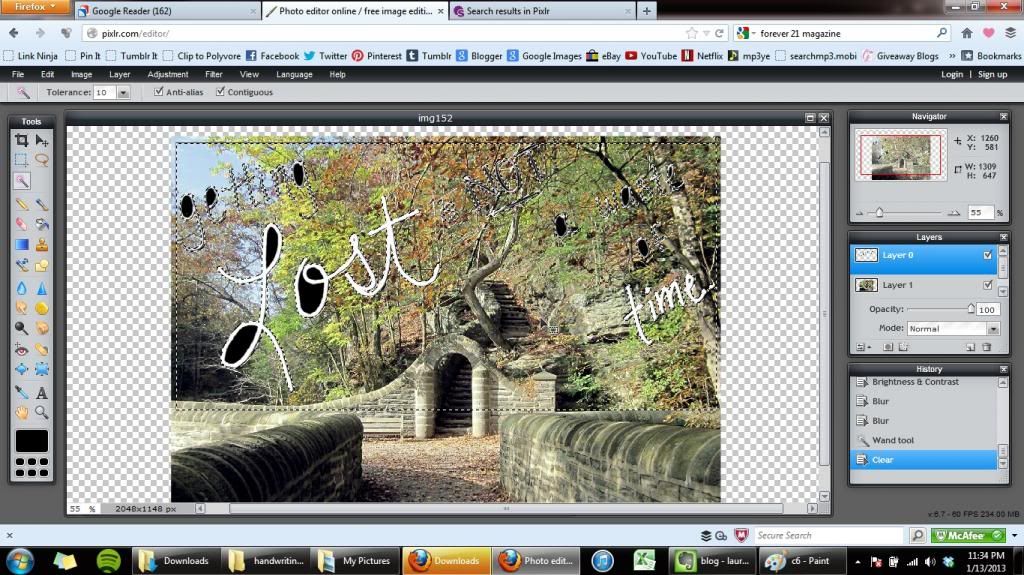
Then, open your picture into your photo editing software. For this, I used pixlr's advanced photo editor, a free online photo editing website.
Click on an image for a larger view.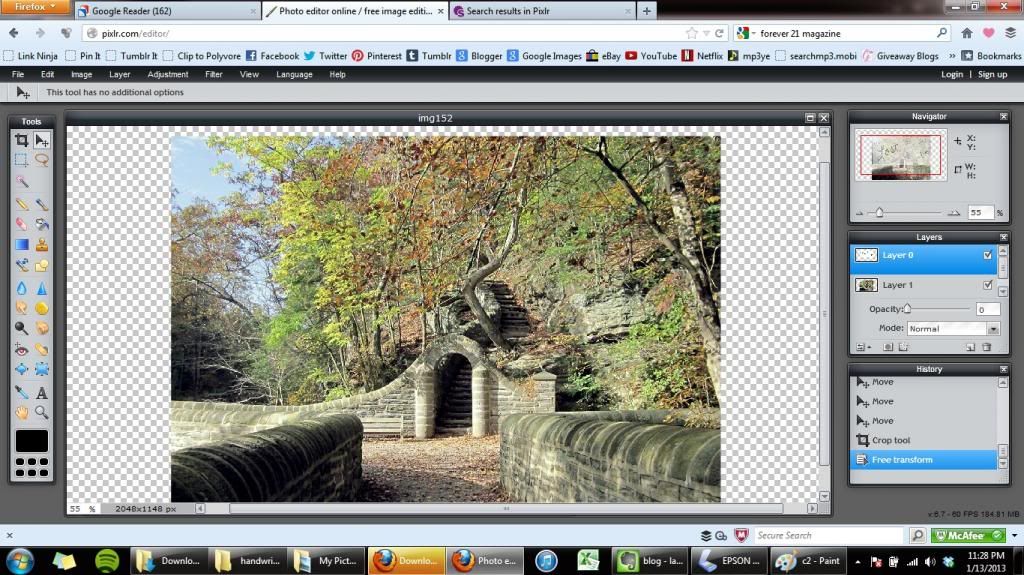
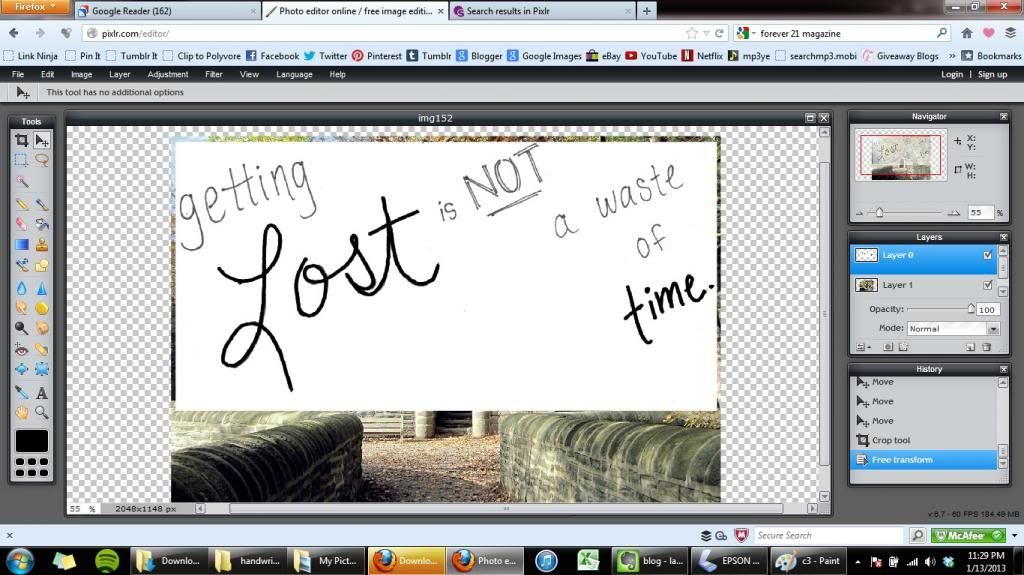
Then, open your handwriting image as a new layer (From the menu bar, Layer > Open image as layer). You may need to resize your image to fit (From the menu bar, Edit > Free Transform).
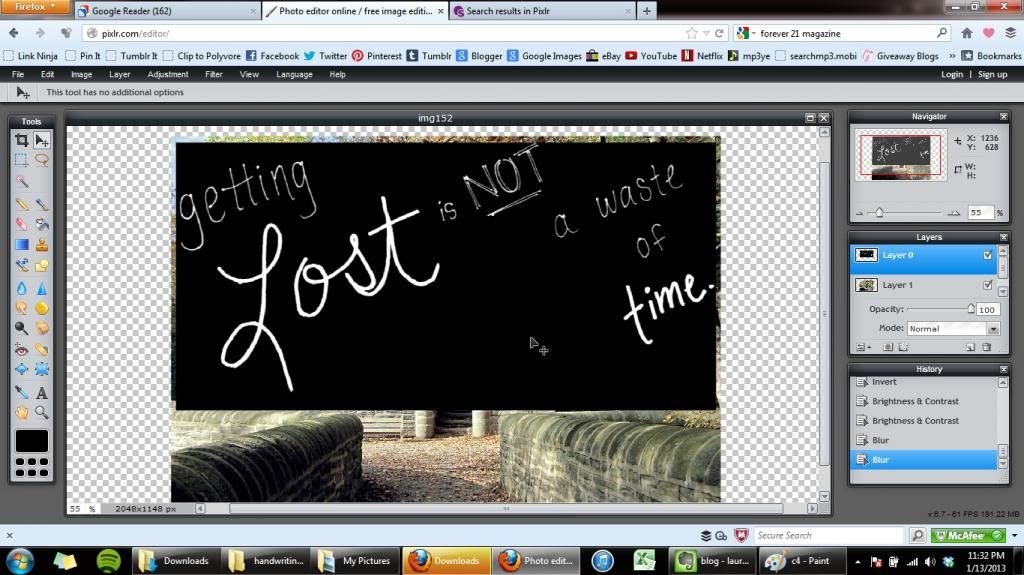
Since my photo has a darker background, I inverted the colors on my handwriting image so text will be white (From the menu bar, Adjustment > Invert).
Use the wand tool to select the background. Click anywhere in the space outside of the letters.
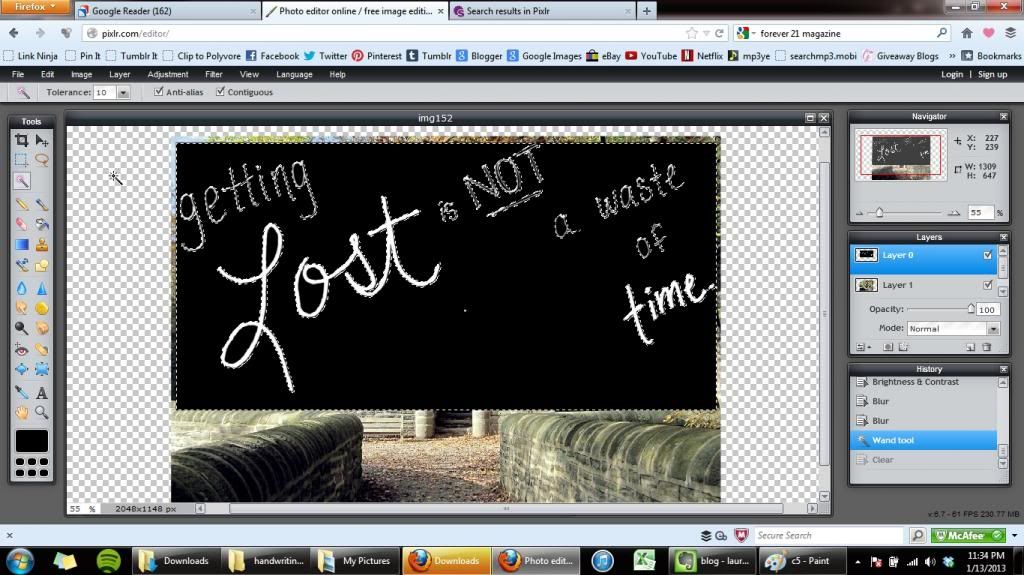
Press the delete button on your keyboard. Repeat for the inside of the letters.

If you have any questions, feel free to leave a comment below.
For other ways to add your own handwriting to your photos, take a look at Part 1 and Part 3.

Follow my Quotes board on Pinterest for some inspirational quotes to add to your photos.


Definitely a good idea : I can never find a perfect typo! Thanks for sharing your tips ;-)
ReplyDeleteGood one tips. After you make black cover invisible, how did you make your words so beautiful? About MAC if you ever will use it you should use another editor like this one:https://macphun.com/.
ReplyDelete