


Using your own handwriting is a great way to add a personal touch to your photos. There are a few ways to do this. The first and most convenient way is to create your own font. This is what I have been using in my layout and recent photos.
There are lots of websites out there for creating your own fonts. The one I chose to use is a free website called MyScriptFont.com because it's pretty straight-forward and easy to use. For this, you will need a printer, scanner, a pencil, and a black felt pen. When you go to the website, you will find a link to the template they provide, and you can download and print it.
The next step is to fill out the form. I would suggest writing lightly in pencil first in case you make a mistake. Make sure your letters stay inside the lines. Anything outside of the gray box will get cut off.

Once you've perfected your letters, go over your pencil lines with a black felt pen or thin marker.

Give the ink a little bit of time to fully dry and then go back and erase your pencil lines.

Scan the page into your computer. The suggested settings are to scan as grayscale at 300dpi.

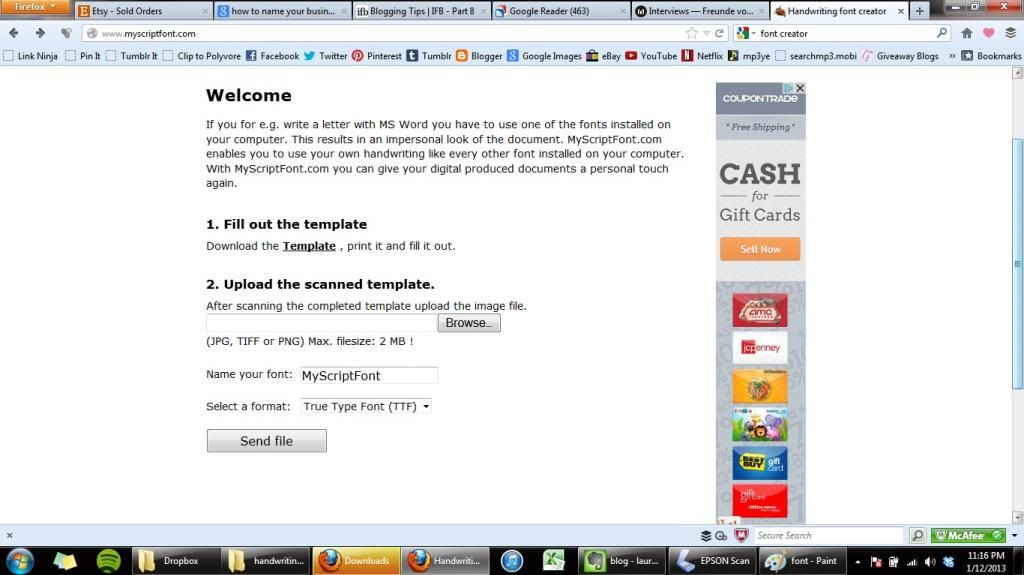
After your form is scanned, go back to myscriptfont.com to name and upload your form.
Now that you've created your font, you can download and install it onto your computer.


Now, you have a personalized font that you can use in any photo editing software on your computer.


If you have any questions, feel free to leave a comment below.
For other ways to add your own handwriting to your photos, take a look at Part 2 and Part 3.

Follow my Quotes board on Pinterest for some inspirational quotes to add to your photos.


Thank you :) This is amazing and very helpful... great tutorial :)
ReplyDeletehttp://tugbaseckin.blogspot.com/
oh, this is awesome ! I'll try it as soon as I get time .) Thanks :)
ReplyDeletethis is so nice! i allready was wondering how i needed to do it!
ReplyDeletefashionate
That's a very cool tutorial! Great idea to share it ;-)
ReplyDelete